Resize Image Without Losing Quality
Want to resize image without losing quality? This page only enlarges, to 2x, 4x or a 4K long edge, with AI on your device. It can't shrink or hit a file size.
or drop / paste an image here · JPG, PNG, WebP up to 20 MB
Runs in your browser. Your image is never uploaded.
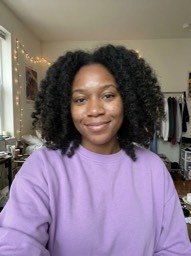
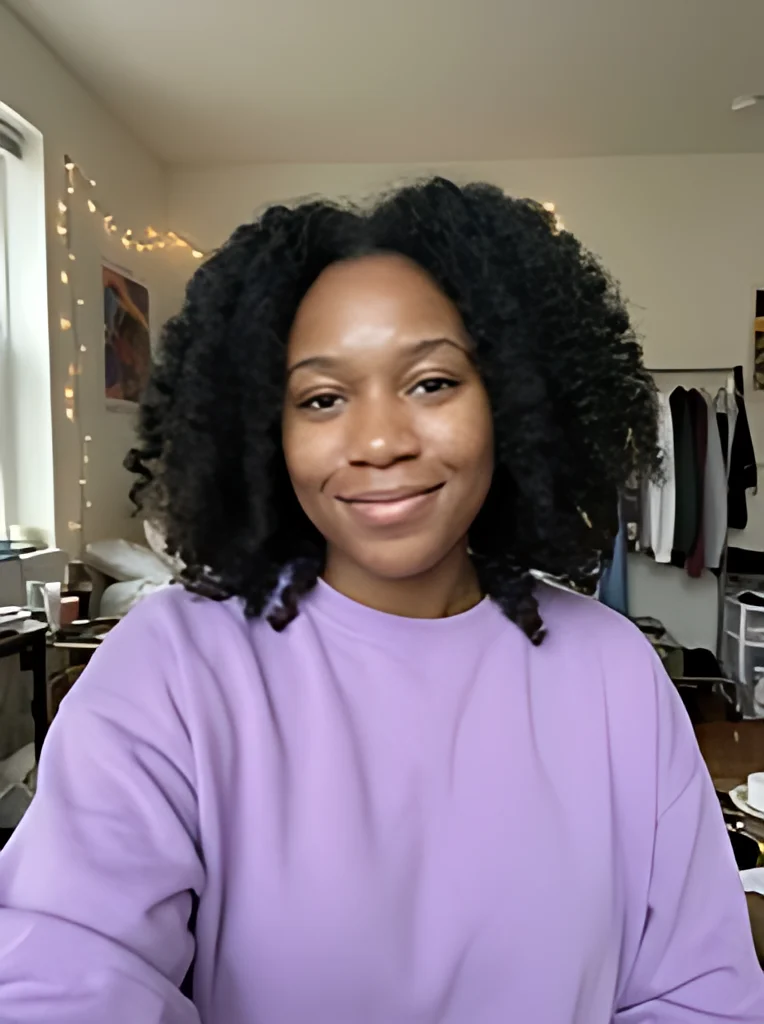 BeforeAfter
Examples
BeforeAfter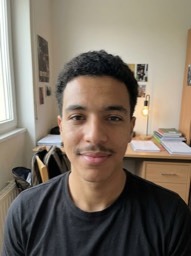 Before
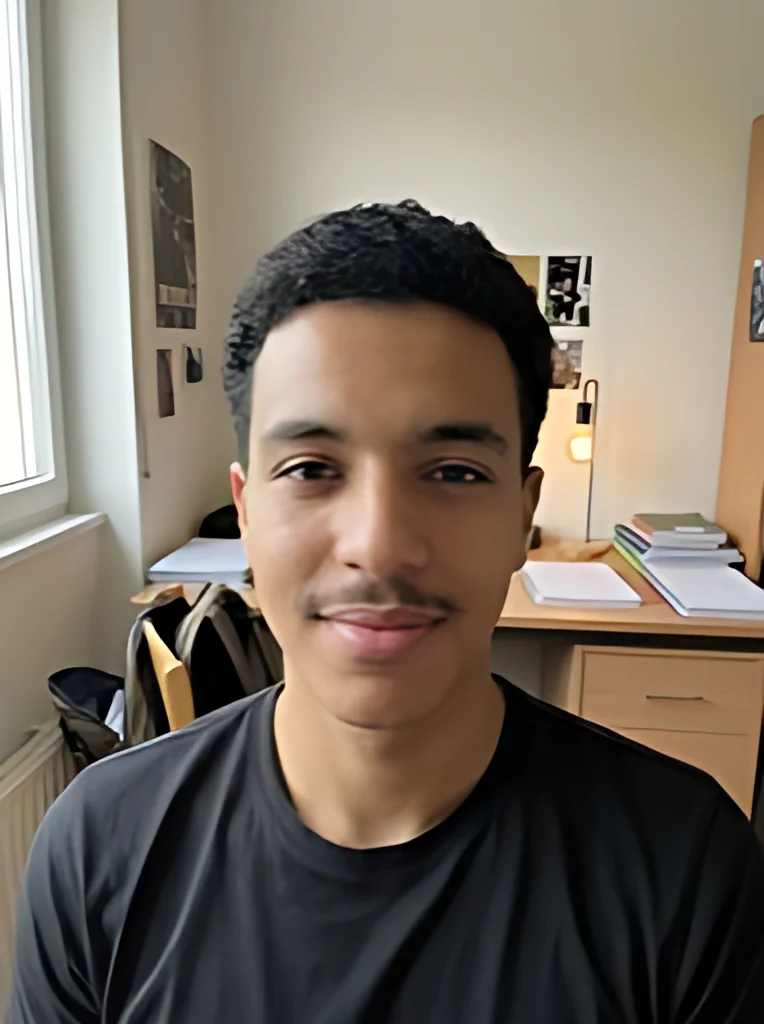 After
Why a normal resize blurs when you make an image larger
An image is a fixed grid of pixels. To make it larger, a normal resizer has to invent the pixels in between, and most use bicubic interpolation: each new pixel is a weighted average of the pixels around it.
Averaging can only spread the colors already there. A crisp edge between dark hair and a light wall becomes a short gradient, so the bigger the step, the softer the picture looks. Noise and JPEG blocks get enlarged along with everything else.
Shrinking is the opposite case. Many pixels are merged into fewer, so a good resizer loses very little you can see. That is why most tools that resize image without losing quality are really talking about making it smaller.
What "without losing quality" can honestly mean
No tool can bring back detail the camera never captured. What an AI upscaler can do is stop the enlargement from adding blur.
This page uses an open-source AI model trained on real photos that were blurred, noisy and compressed. Instead of averaging neighbors, it predicts sharp edges and plausible texture at the new size, and it cleans up noise and JPEG blocks on the way.
So when we say resize image without losing quality, we mean an enlargement made by prediction instead of averaging, not a recovered original. The filled-in detail is the model's best guess: skin can look smoother than in real life, and very small text can change shape. Drag the before/after slider and check faces and lettering before you use the result.
Normal resize vs AI upscaling: which one to use
Resizing up and resizing down are different jobs. Pick the tool by the direction you are going.
| Normal resize, making it bigger | AI upscale on this page | Normal resize, making it smaller | |
|---|---|---|---|
| How new pixels are made | Averaged from neighboring pixels (bicubic) | Predicted by an AI model trained on real photos | Many pixels merged into fewer |
| Edges and fine lines | Turn soft, more so at larger sizes | Redrawn sharp; check them with the slider | Stay sharp |
| Noise and JPEG blocks | Enlarged with the image | Cleaned up by the model | Mostly averaged away |
| Sizes you can pick | Any width and height you type | 2x, 4x or 4K (long edge 3840 px) | Width and height in pixels |
| Detail the camera never captured | Not there | Guessed, so compare with the original | Not needed |
| Best for | Small steps where slight softness is fine | Small photos you need two to four times larger | Web pages, email, forms with size limits |
Before you resize an image bigger: a quick checklist
A few minutes of prep decides how sharp the enlarged image can get.
- Start from the largest copy you have, not one saved from a chat app or a screenshot of a screenshot.
- Use a JPG, PNG or WebP under 20 MB; export HEIC photos from an iPhone as JPG first.
- Pick 4x for small photos and 4K when you need a long edge of 3840 px; every option uses the same 4x model, resized as needed.
- Know the result size: a 382 x 512 photo becomes 1528 x 2048 at 4x and 2865 x 3840 at 4K.
- Expect a few seconds per image on a regular laptop: a 382 x 512 photo took about 6 seconds at 4x on our test Mac in Chrome.
- Drag the before/after slider over faces, hair and any lettering before you download.
- Keep the PNG download for transparent images; tick Save as JPG only when you want a smaller file and a white background is fine.
- Need an exact size such as 1080 x 1350? Enlarge here first, then crop or shrink in a normal editor.
What to know before you resize
Your image stays with you
Your image is upscaled on your own device and is never uploaded to our servers. The model and its runtime download once, then your browser does all the work, so there is no queue and nothing to delete afterwards.
Free, with no catch
No sign-up, no daily limit and no watermark. One image at a time; the result isn't saved, so download it before you close the page.
It only makes images bigger
If your image is already larger than the long-edge target you pick, the tool tells you instead of shrinking it. If you need to resize image without losing quality to a smaller size, a normal resizer is the right tool.
It is AI output, so check it
The model fills in detail it can't know for sure. Faces can come out smoother and tiny text can be redrawn wrong, so compare the result with your original.